12 March DIYs
Posted In accessories, accessories, bags, furniture, house and home, jewelry, kitchen, living, make it, office, round up, series, style, walls, wear it
Posted In accessories, accessories, bags, furniture, house and home, jewelry, kitchen, living, make it, office, round up, series, style, walls, wear it
Posted In accessories, accessories, beauty bag, create, house and home, jewelry, living, make it, office, paper, round up, sculpture, series, storage, style, textiles, walls, wear it
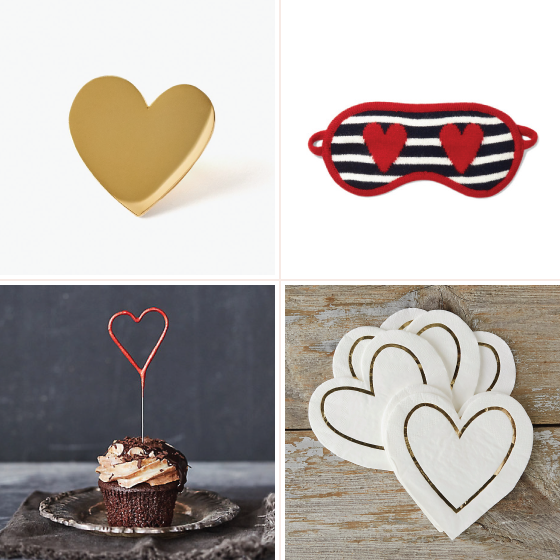
Heart Pin + Post // Cashmere Eye Mask // Heart Sparkler // Golden Heart Napkins
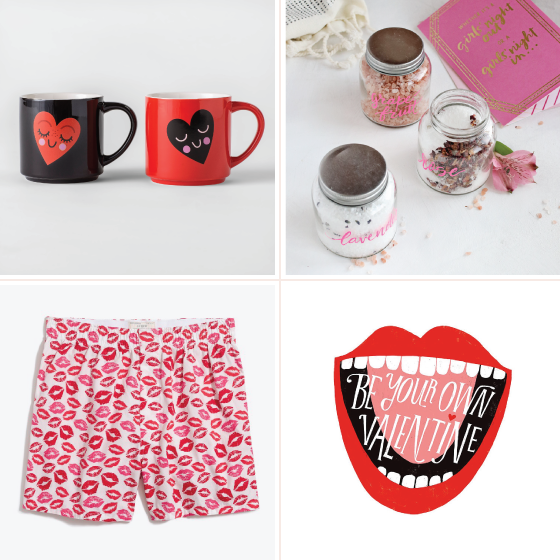
Hearts Glazed Stoneware Mug Set of 2 // DIY Bath Salts // Kisses Boxers // Be Your Own Valentine Print
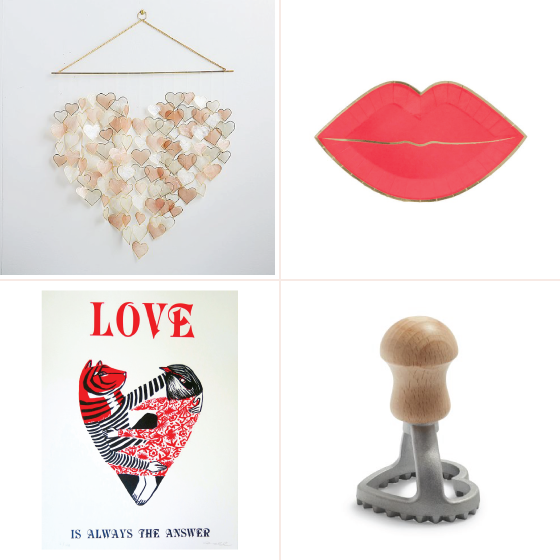
Capiz Heart Wall Hanging // Valentine Lip Plates // Love is Always the Answer Silkscreen Print // Heart Ravioli Stamp
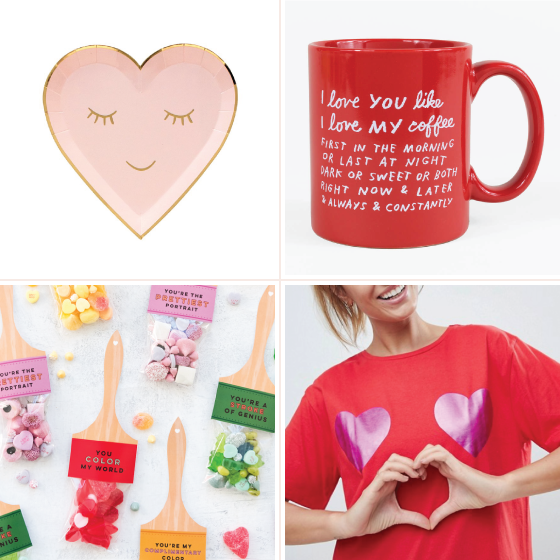
Smiling Heart Plates // I Like You Like I Like My Coffee Mug // Printable Paintbrush Valentines // Foil Heart Sleep Tee
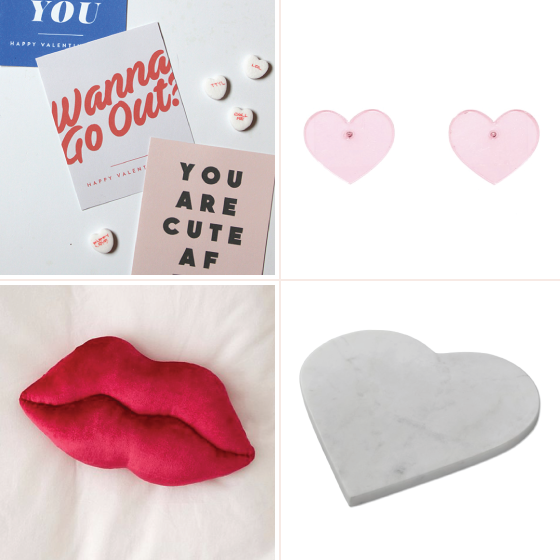
Printable Texty Valentines // Lucite Love Studs // Velvet Lips Throw Pillow // White Marble Heart Cheese Board
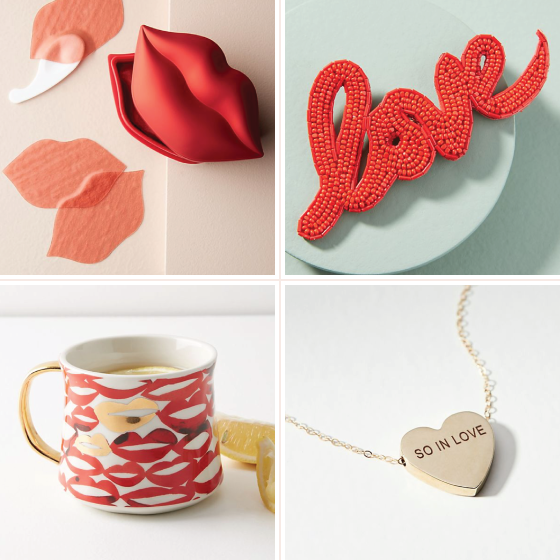
Kocostar Rose Lip Mask // Amor Brooch // Boca Mug Lips // Heartbeat Necklace So In Love
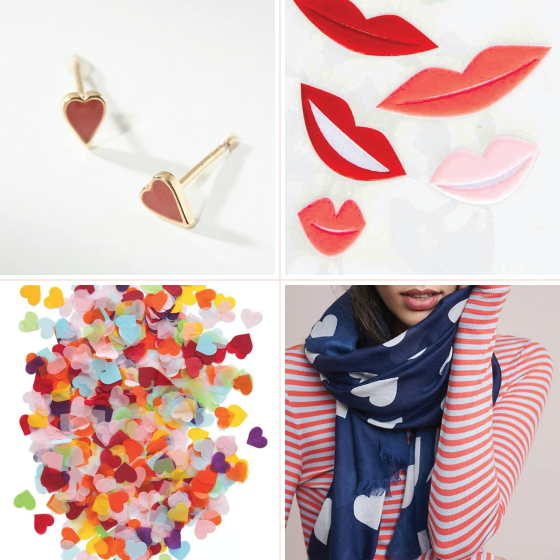
Heart of Hearts Necklace + Earrings Set // Puffy Lips Stickers // Giant Heart Confetti // Open-Hearted Scarf
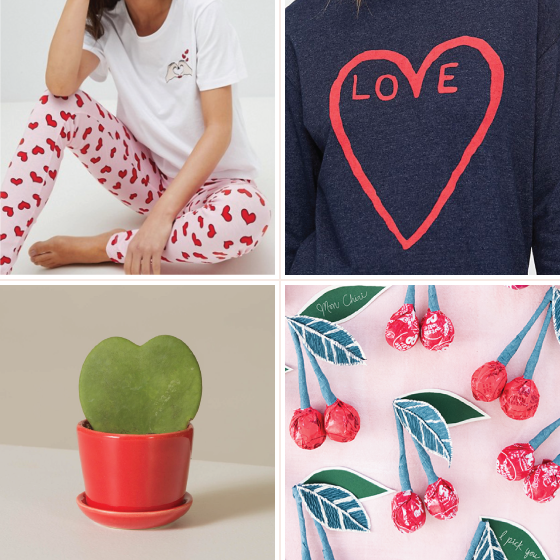
Embroidered Legging Set // High Neck Lace Sweatshirt // Hoya Heart & Ezra Planter // Tootsie Pop Cherry Valentines
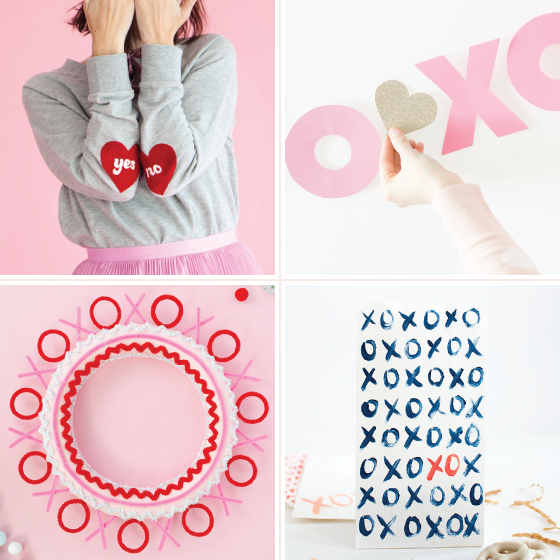
DIY Heart Sleeve Sweatshirt // DIY XOXO Banner // DIY Pipe Cleaner Valentine’s Day Wreath // DIY Painted Valentine’s Day Treat Bags
Posted In holidays, living, make it, round up, series, style, valentine's day, wear it
Posted In accessories, accessories, bags, beauty bag, create, entertaining, house and home, jewelry, living, make it, paper, round up, series, style, textiles, wear it

1/ DIY Wintery Garlands with Citrus Peels
2/ DIY Braided Rope & Ribbon Wreath
3/ DIY Colorful Christmas Village
4/ DIY Colorful Wood Christmas Trees
5/ DIY Cozy House-Shaped Luminaries
6/ DIY Eucalyptus Garland Christmas Card Display
7/ DIY Felt Foliage Party Garland
8/ DIY Festive Mini Banners
9/ DIY Foraged Diamond Garland
10/ DIY Giant Paper Holly Garland

11/ DIY Gingerbread Gift Tags
12/ DIY Gingerbread Village Centerpiece
13/ DIY Hanging Eucalyptus Wreath Centerpiece
14/ DIY Hanging Holiday Lanterns
15/ DIY Holly Berry Surprise Ball
16/ DIY Letters to Santa Mailbox
17/ DIY Minimal Christmas Village
18/ DIY Modern Christmas Terrarium
19/ DIY Painted Bead & Brass Garland
20/ DIY Painted Block Garland

21/ DIY Paper Holiday Houses
22/ DIY Paper Magnolia Leaf Garland
23/ DIY Paper Poinsettia Flowers
24/ DIY Festive Pom Pom Garland
25/ DIY Reindeer Gift Box
26/ DIY Sequin Christmas Tree
27/ DIY Stocking Hanger Box
28/ DIY String Lights Garland
29/ DIY Swedish Candle Wreath
30/ DIY Tin Bell Garland
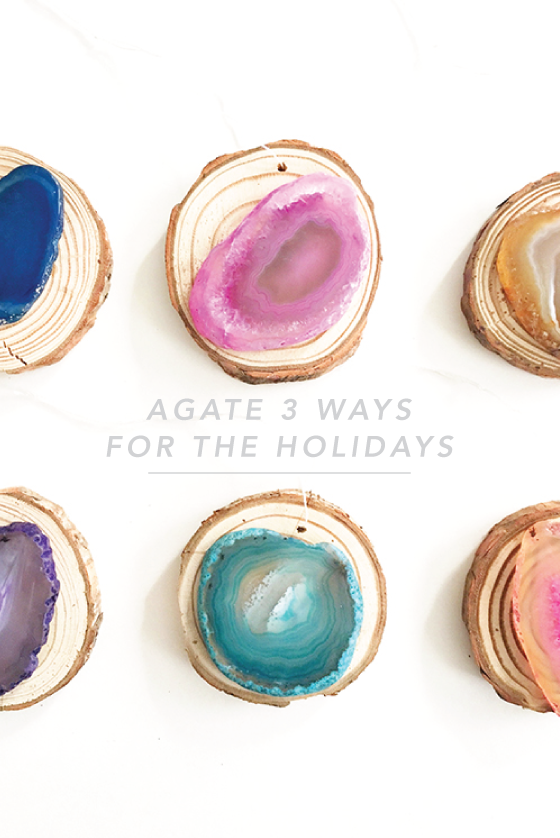
Agate is one of those things that never really goes out of style. Case in point: I still remember the brown agate drink coasters we had on the coffee table when I was a kid! The banded stone has been back in the spotlight for a few years and I’ve been looking for a project that would make it the star. Here are three different ways to use agate and birch slices in your holiday season in three super easy DIY projects. I love how they all turned out and can’t wait to add them to my own festivities and gifts!
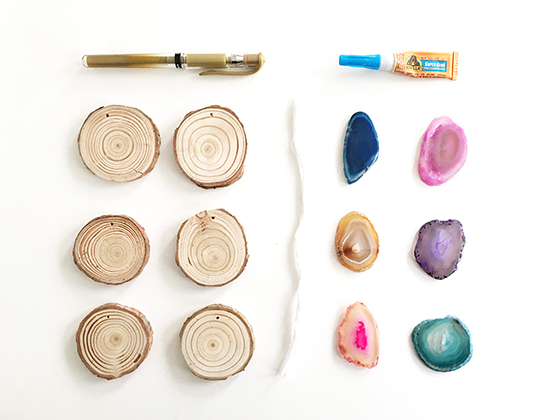
Supplies
• birch slices (with pre-drilled holes)
• agate slices
• superglue
• permanent metallic marker
• string
• needle nose pliers
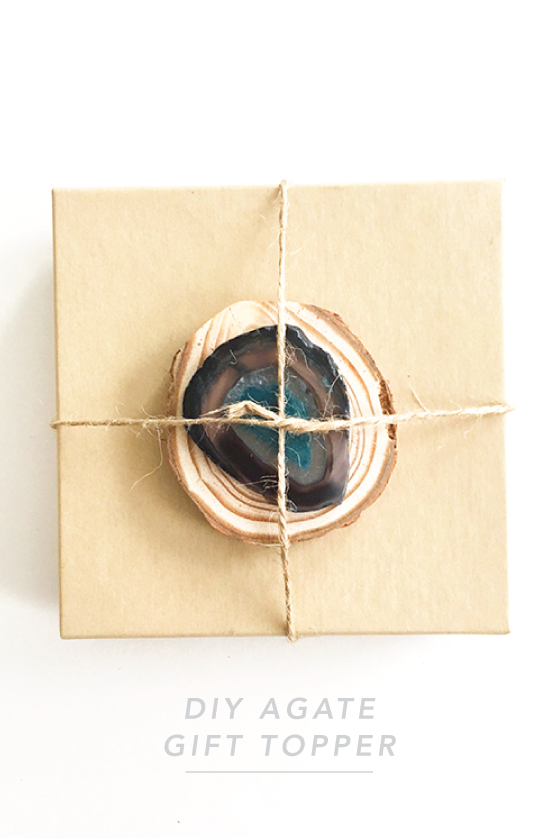
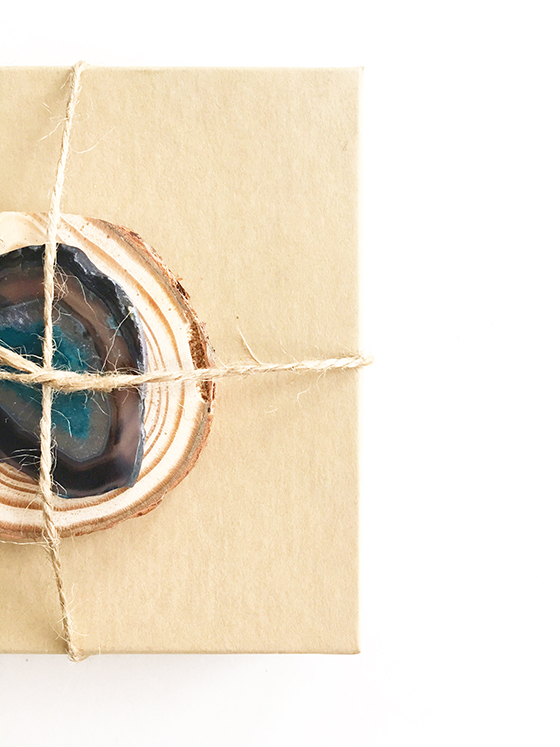
All three of these projects start the same way, by matching up the birch and agate pieces. Once you’ve done that work quickly to place a few drops of superglue on the wood before affixing the stone and pressing together firmly. Because we don’t need the pre-drilled hole for this gift topper, go ahead and cover it with the agate slice. I really like this DIY because sometimes a plain kraft box looks so nice on its own but needs something extra – the gift topper is a sweet little extra that the recipient can keep.
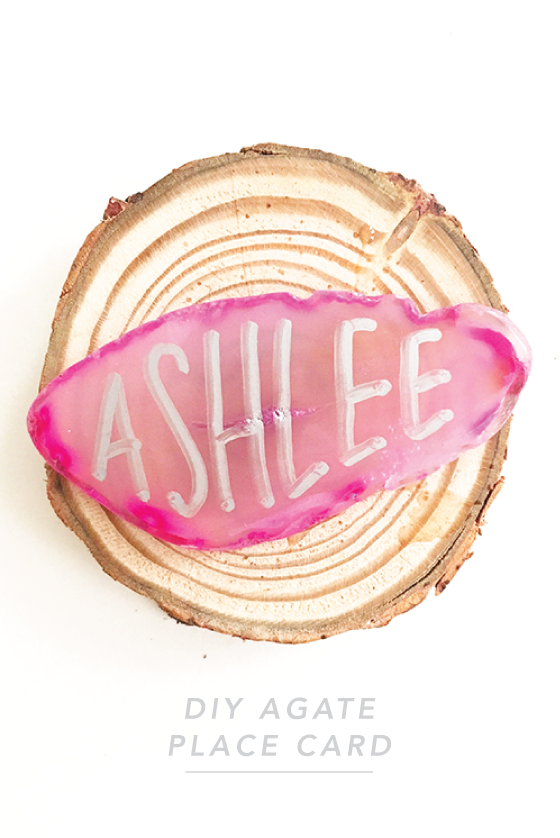
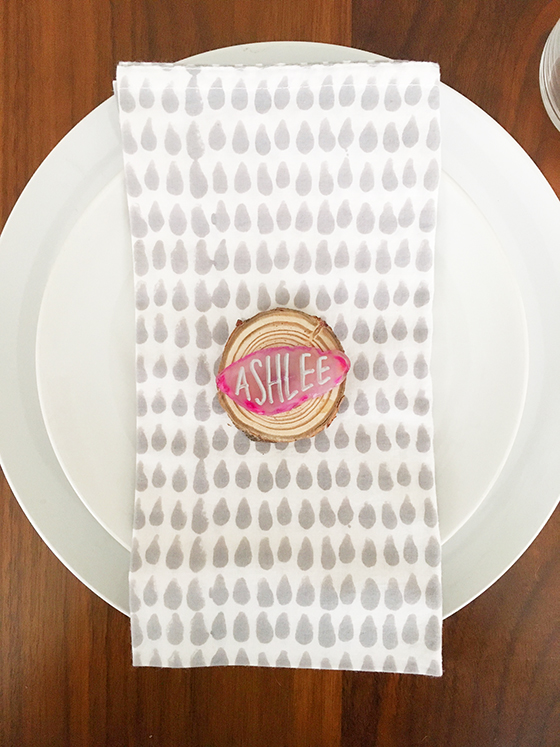
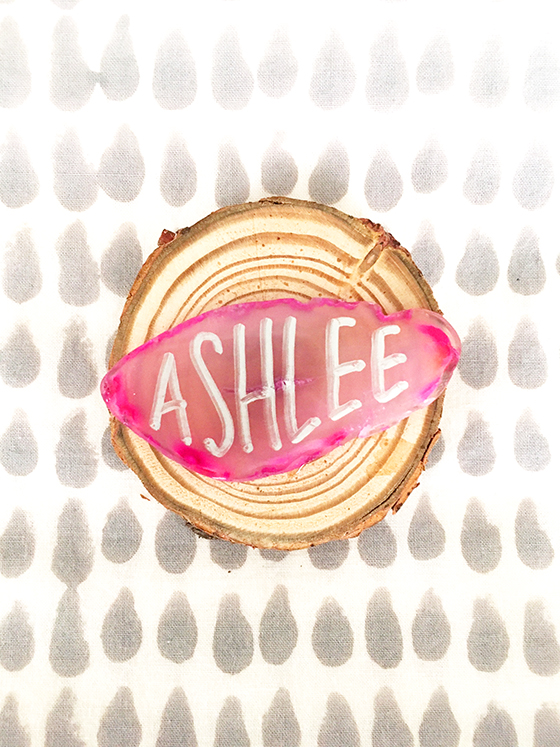
For this colorful birch and agate place card repeat the first few steps from above. Once the two pieces are firmly attached to one another use your permanent metallic marker to write out each guest’s name. I chose to follow the natural shape of the stone with my letters.
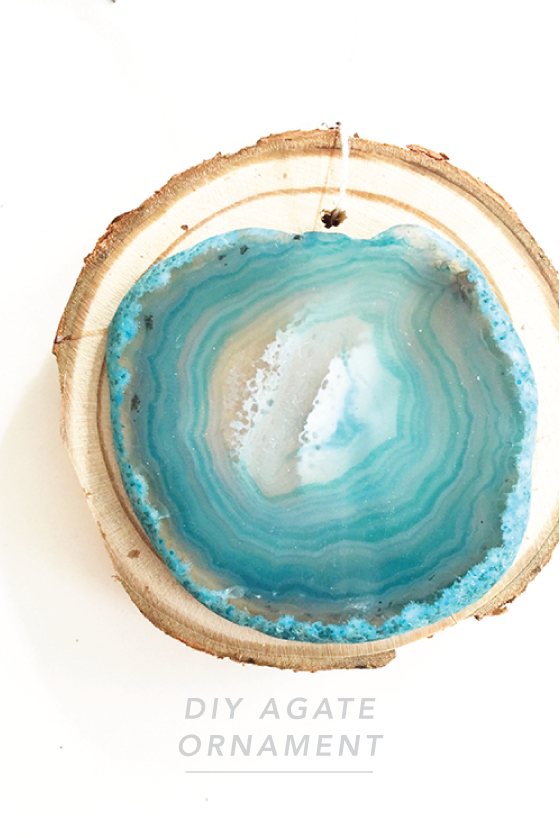
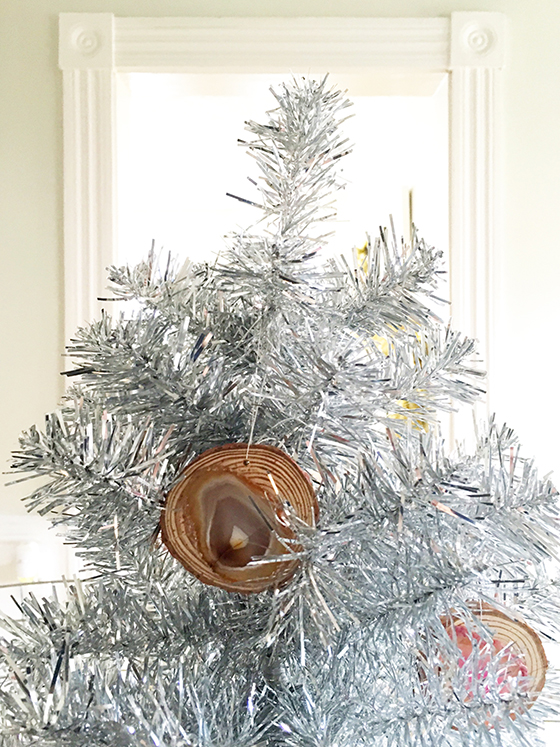
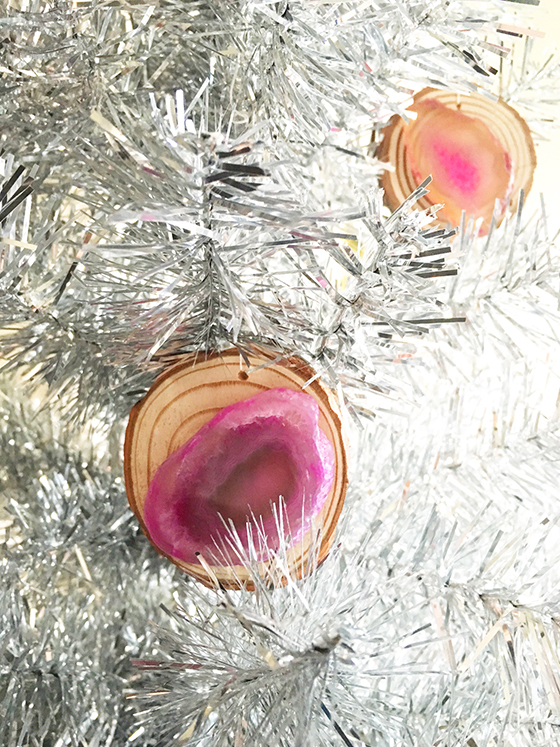
Again follow the first few steps outlined above, this time leaving the pre-drilled hole in the birch accessible. You may need to use a small nail or skewer to clear any wood pulp debris from the opening before threading the string and tying a knot. (Use a pair of needle nose pliers if you need a little help pulling it through.) I used 6-inch lengths of single-strand white thread to make it as invisible as possible.

What kind of stockings did you grow up with as a kid? Mine was the red felt kind that you can still buy literally anywhere, with my name written on the white part in glitter. I loved it and it still hangs at my Mom’s house every Christmas! Stockings are my favorite part of gift opening, so I thought it apt to do a Buy or DIY post dedicated to this very special holiday tradition.
Posted In accessories, christmas, holidays, house and home, kids, living, make it

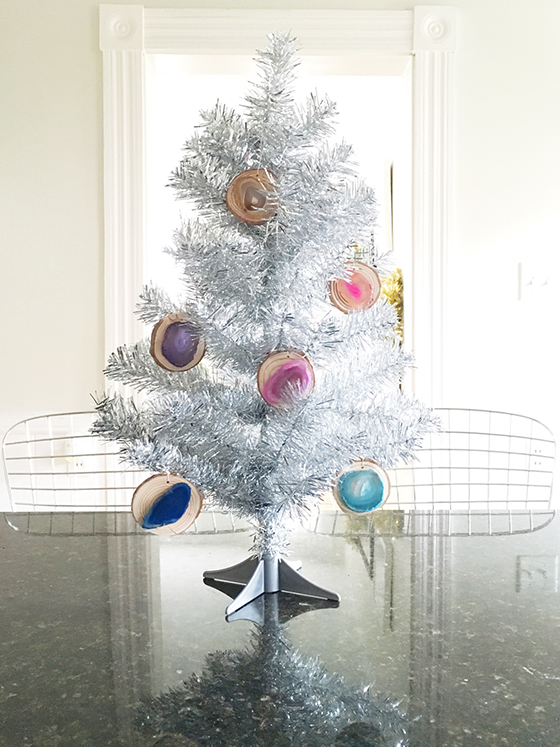
Somehow, through no planning on my part, a magical window of time opened up the Saturday after Thanksgiving and I was able to decorate my tree. This is the first time I’ve ever had a white one and I’m very into the way all of my brighter colored ornaments pop against it. I have a great ornament project coming your way next week, but in the meantime here are twenty to buy and twenty to DIY!
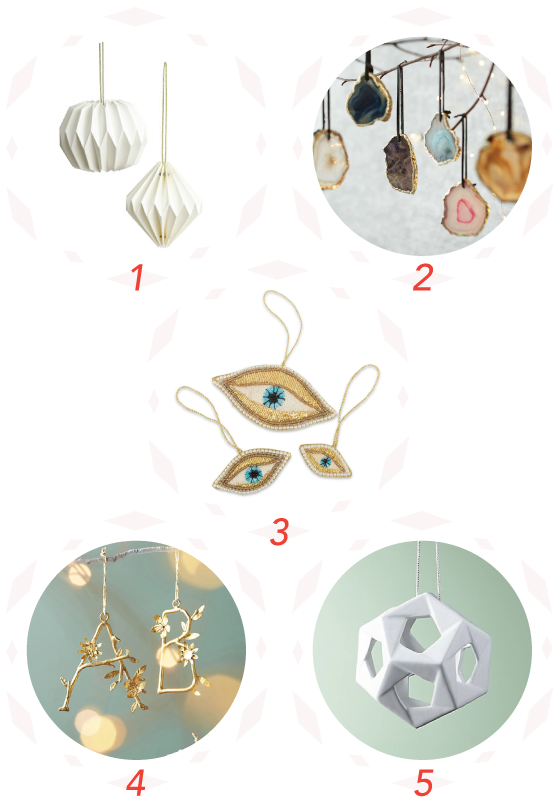
1/ Cardboard Ornaments, Set of 2
2/ Agate Slice Ornament
3/ Beaded Eye Ornaments, Set of 3
4/ Budding Monogram Ornament
5/ Ceramic Open Ball Ornament
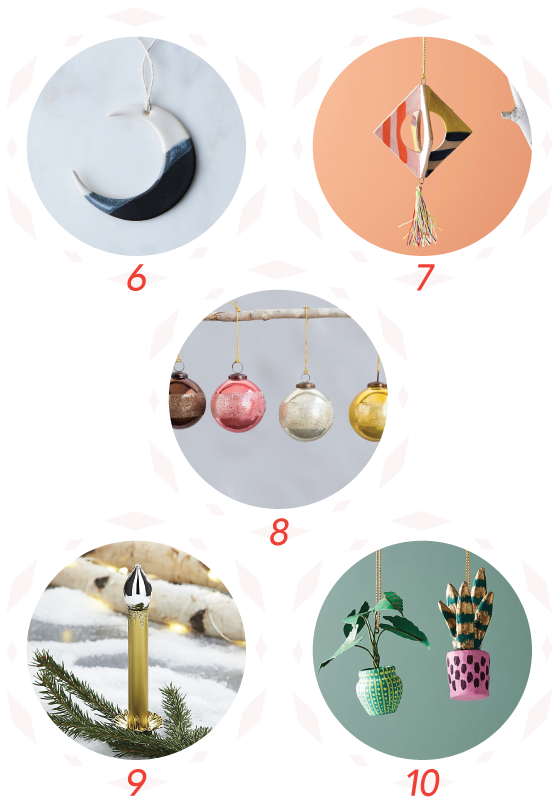
6/ Double-Dip Ceramic Moon Ornament
7/ Geo Tassel Ornament
8/ Glass Ball Ornaments, Set of 4
9/ Glass Candle Clip Ornament
10/ Glinted Houseplant Ornament
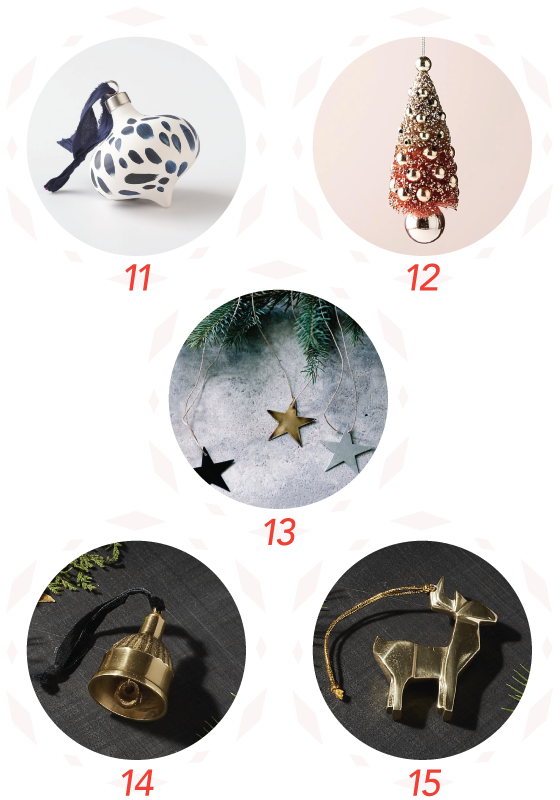
11/ Handpainted Ornament
12/ Jingle Bell Tree Ornament
13/ Luna Stars, Set of 6
14/ Metal Bell with Velvet Ribbon Ornament
15/ Mini Gold Reindeer Ornament
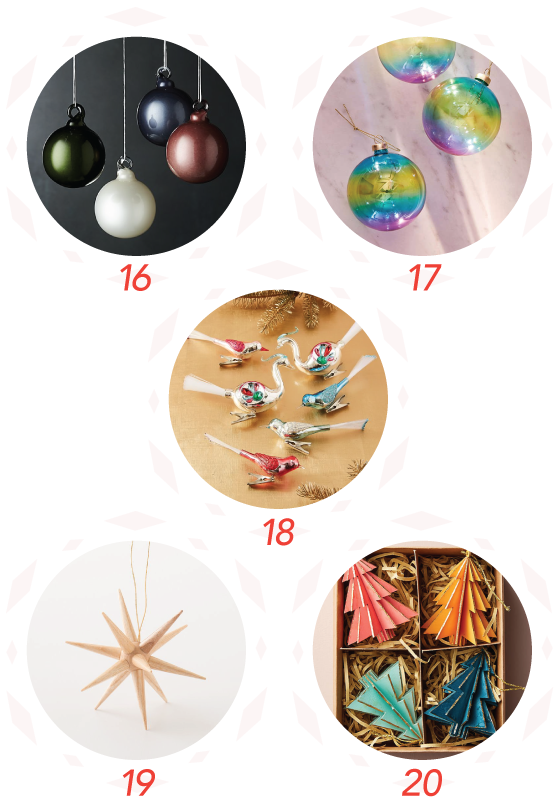
16/ Muted Metallic Ball Ornaments, Set of 4
17/ Rainbow Iridescent Ornaments, Set of 3
18/ Shiny-Brite Bird Ornaments, Set of 6
19/ Wooden Starburst Ornament
20/ Wooden Tree Ornament Set
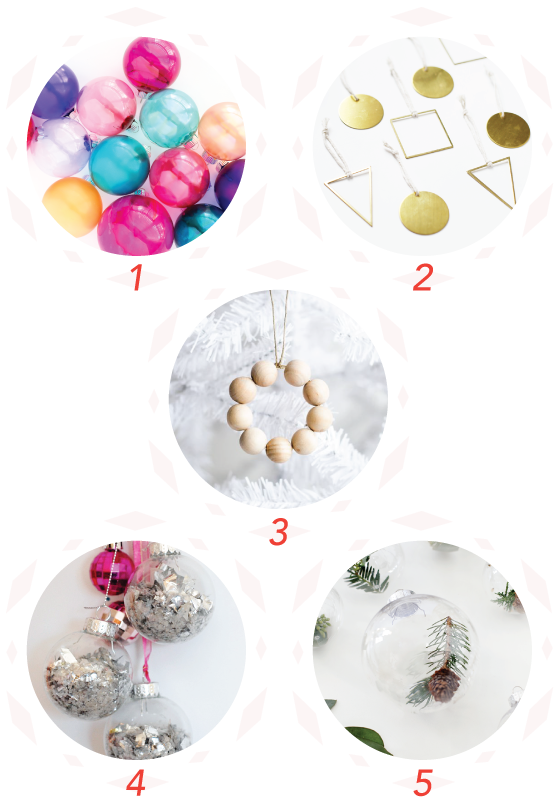
1/ DIY Alcohol Ink Ornaments
2/ DIY Brass Ornaments
3/ DIY Wood Beads Wreath Ornament
4/ DIY Disco Ball Ornaments
5/ DIY Fresh Greenery Ornaments
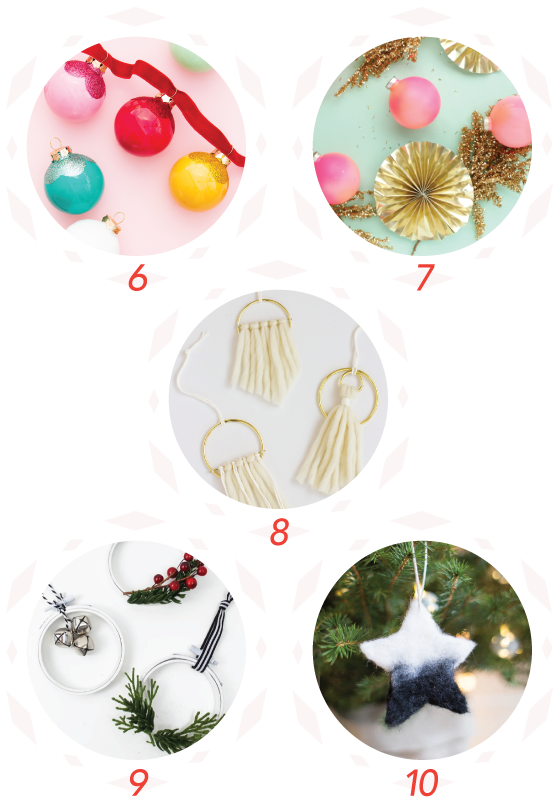
6/ DIY Glitter Scallop Ornaments
7/ DIY Gradient Ornaments
8/ DIY Mini Wall Hanging Ornaments
9/ DIY Mini Wreath Ornaments
10/ DIY Need Felted Star Ornament
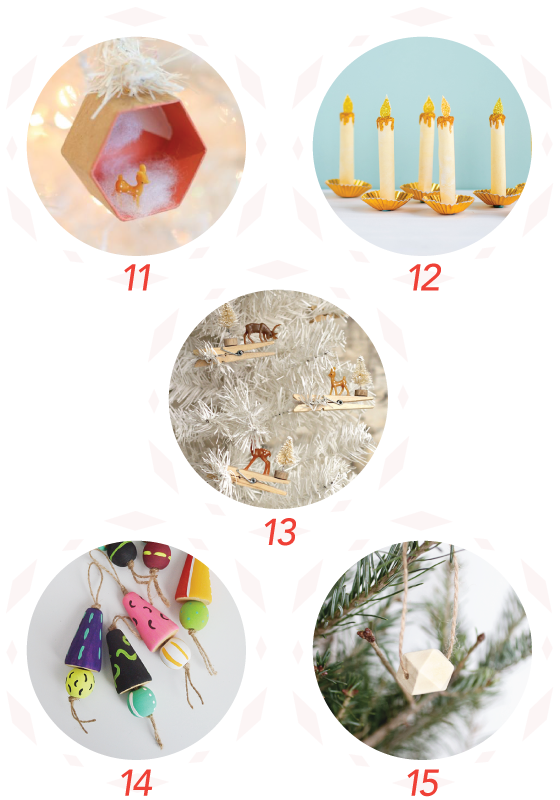
11/ DIY Modern Diorama Ornament
12/ DIY Paper Candle Ornaments
13/ DIY Reindeer Clothespin Ornaments
14/ DIY Wooden Modern Bell Ornaments
15/ DIY Wooden Ornaments
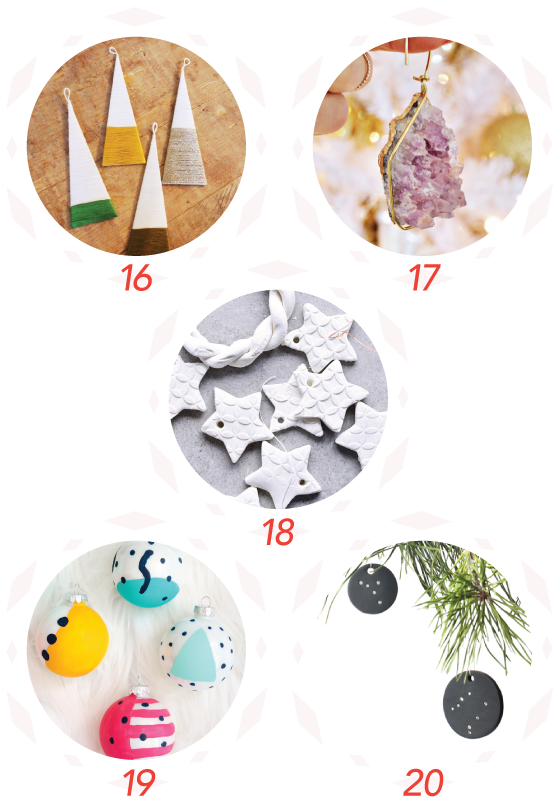
16/ DIY Minimal Wrapped Tree Ornaments
17/ DIY Geode Ornament
18/ DIY Scented Baking Soda Ornaments
19/ DIY Memphis Design Ornaments
20/ DIY Zodiac Rhinestone Ornament

Have you decorated your entire place or not even started? Are you going all out or keeping things simple? This year I find myself in the DONE and SIMPLE categories and I’m 100% find with it. The first thing I did the day after Thanksgiving was hang my favorite wreath on the front door… because last year’s decoration boxes never got put away but rather sat at the top of the cellar stairs. (How’s that for Insta ready?!) During the holidays it seems you have to pick your battles, and some of them include whether you want to spend hours crafting or would rather place an order online. I getcha and I’ve got your back with this selection of wreaths you can either buy or DIY.
Posted In christmas, holidays, house and home, living, make it, round up, series, walls
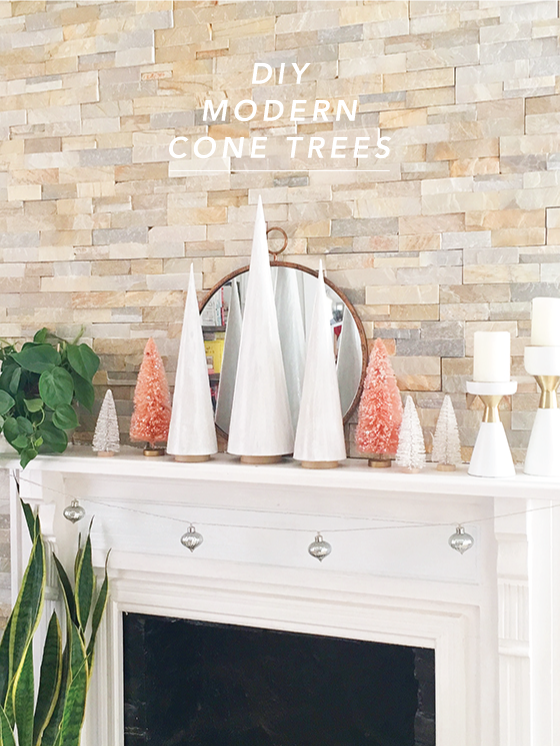
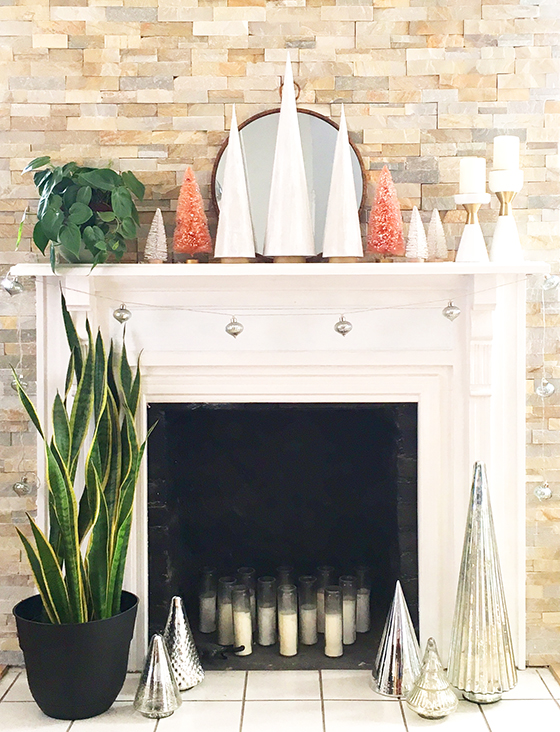
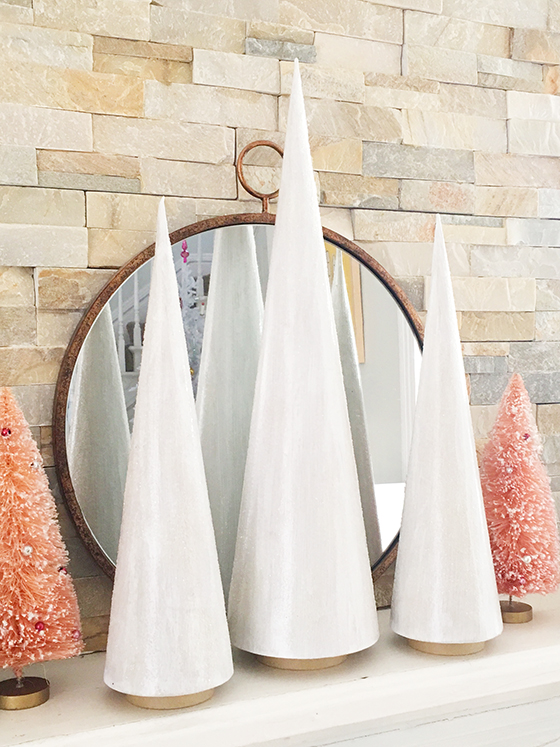
I first made this ridiculously easy project a few years ago and can’t believe it’s taken me so long to share with you! This trio of DIY modern cone trees are a statement maker on their own or pair them with your other decor – I favor plenty of bottlebrush trees. I think they’d also be really pretty in any other color and the glitter would really pop!
Supplies
• paper mache cones (the ones I used are 16-inch and 12-inch)
• pearlescent white craft paint
• medium paint brush or craft sponge
• clear craft glitter
• newsprint or something similar
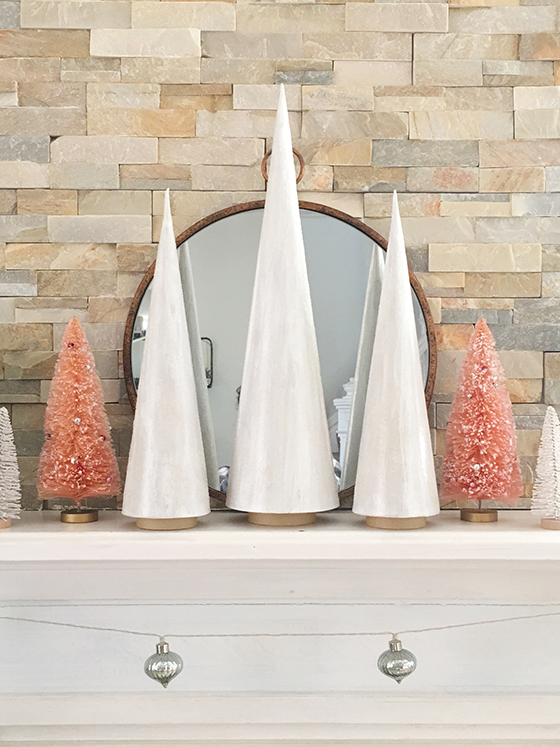
Step 1. Spread out the newsprint or something else that will protect the surface of whatever you’re creating your trees on. (It’s the glitter that’s going to get messy, not the paint.)
Step 2. Do one tree at a time, start by painting with long vertical strokes. You can do either one coat of paint for a more textural look – the paper will show through a bit – or two for more coverage, but whichever look you prefer make sure the paint is still wet when we get to the next step.
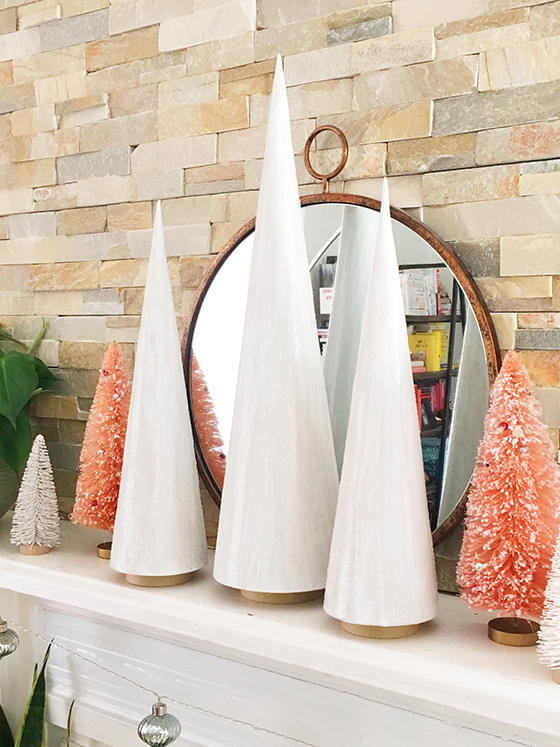
Step 3. Rather than using glue you’ll be relying on the wetness of the paint to adhere the clear glitter to the cone for a pretty, snowy look. (You could also use regular glitter if that’s your preference, or mix the two together.) With the tree held horizontally over the covered surface, gently sprinkle the glitter as you rotate the cone. I went with about 50% coverage on my trio, so you gauge how much you’d like from that estimate.
Step 4. Allow to dry completely. If you’d like an extra layer of protection/glitter adhesive, you can add a coat of clear spray varnish at this point before allowing it to again dry completely.
Step 5. DONE.
